
Breadmaker Soft Cottony Buns
- Michelle Lee
- May 10, 2021
- 3 min read
Updated: Aug 23, 2021
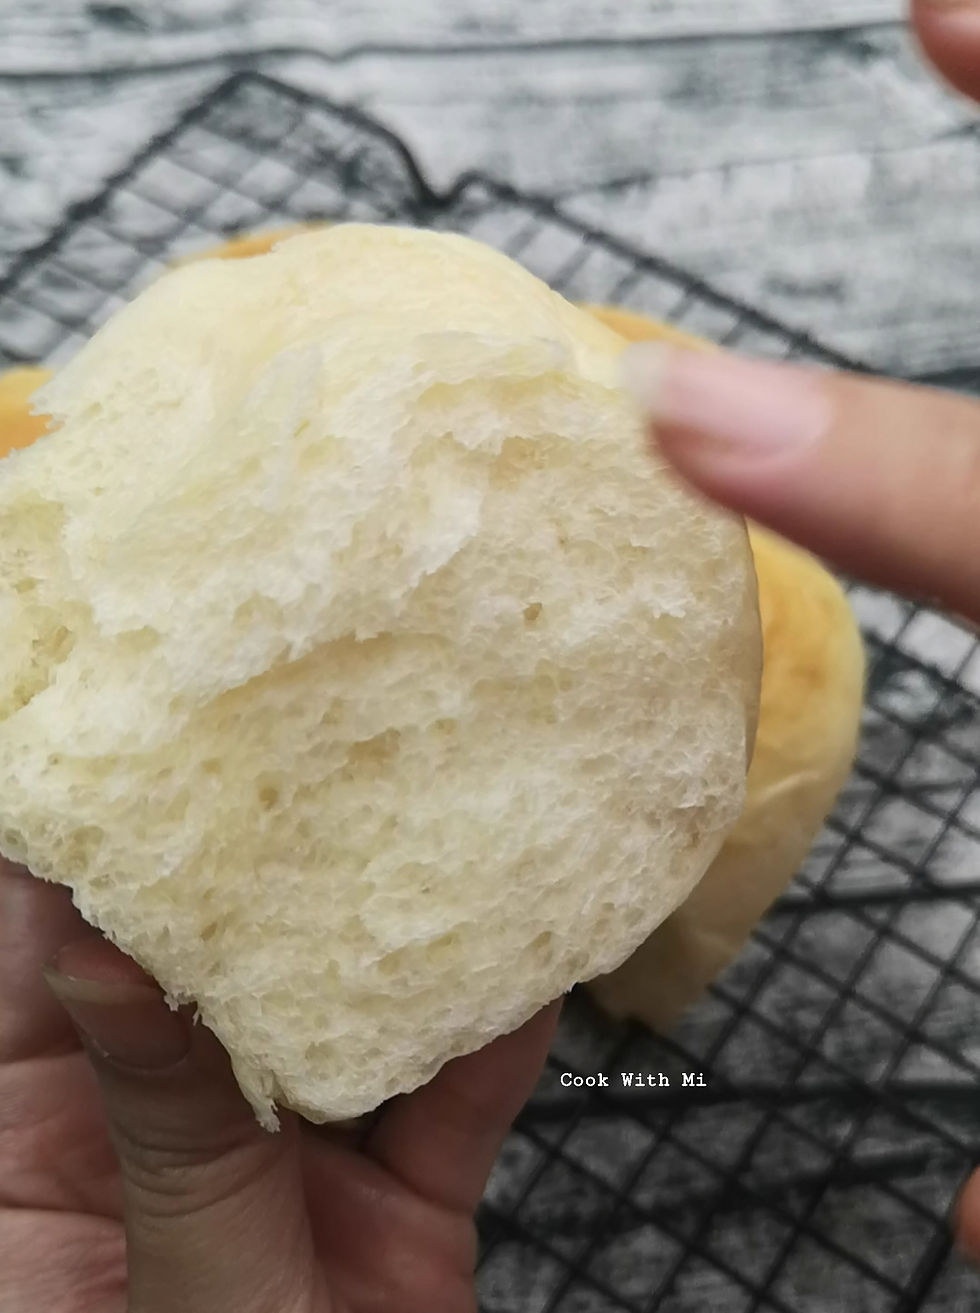
Trying out another bread recipe using bread maker shared by one my friend, Nicole Chow. Result, a very soft and cottony bread. Even the next 2 day, the bread still remain soft. Even a quick 20 secs reheat in the microwave with a small cup of water beside it, it gets softer just like freshly out from oven. Believe me, this taste great while it's warm.
Super good, hubby and son loves it, satisfied and success! Definitely a keeper's recipe.


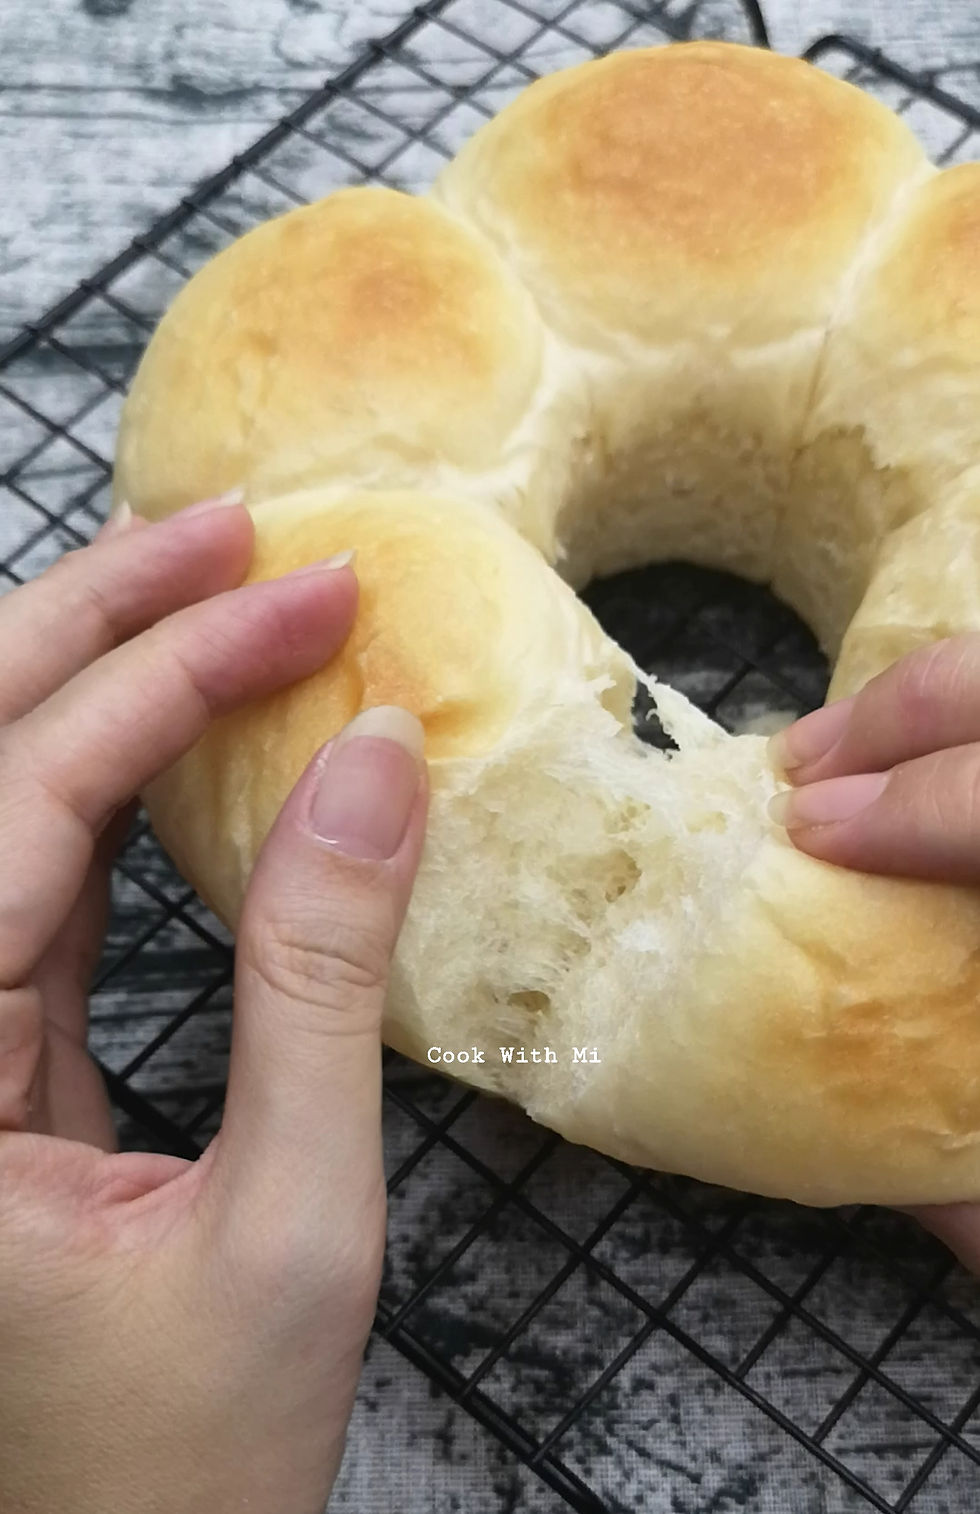
Above pic, my 1st baked using this recipe, slight under-baked as I removed too soon, hence the lighter crust color on the surface. But inside is well-baked.
Ingredients :
130g Bread flour
1/2 tbsp Milk Powder
20g Unsalted Butter
17g Caster Sugar
1/2 Beaten Egg (I use B size egg, half about 27g)
50ml Fresh Milk
1/2 tsp Instant Yeast
3/4 tsp Bread Softener (optional , can omit if don't have)
* additional bread flour to dust your table top when kneading the dough.
* additional butter to grease the baking pan and some for top coat on the buns after baking them.
* with bread softener, bread/buns tends to rise higher and baked buns will have softer texture.
Step by Step:
1. Using bread maker, dough function which will mix and knead the dough, then 1st proofing in the bread maker.
2. Add in all the ingredients into the machine. Some may ask, put which item first. I just follow the sequence in the ingredients list. Press 'start' and wait till it completes. Total about 1 & 1/2 hour.
3. Once the dough is ready (the machine will beep), you can test whether the dough is ready.
(a) 'finger test' - dip finger into flour & poke into dough. Finger should come out clean & easy to poke in. (b) Then you can 'degas' - by punching into the dough to release the air. (c) 'window pane test' - Lop off a golf ball-sized piece of dough. Flatten the dough,hold it between both your thumbs and first two fingers, and gently spread the dough apart. If properly kneaded, the dough should stretch, without tearing or breaking, into a thin membrane that you can see through. 4. Remove dough from the machine & transfer to clean table top dusted with some bread flour.
5. Divide and scale the dough into 6 equally small balls, each weighing about 45g. 6. Flatten each balls, then roll it into a ball and pulling the edges from all sides and seal at the bottom, making the top a smooth rounded top.
7. Arrange each dough balls with seams side down on greased baking pan (in my case, I'm using a chiffon pan) and let it rise again for about an 1 hour or so.


* you can keep in covered places to let it rise faster, like inside of the oven. In my case, I put it back into the breadmaker. My chiffon pan can fit nicely in it. Otherwise you can covered with a piece of damp cloth and leave it on the table.


8. Bake in preheated oven at 160C for 15 mins using top & bottom mode, lowest rack position. 9. Brush butter on the surface of the buns to give it a shiny top. (this is optional) 10. Remove buns from the pan and cool down on wire rack. *Baking time may vary depending on oven's type. If temperature too hot, you can cover the dough with aluminium foil after it has turned browned, then continue baking for the rest of the time. * As bread are free of any preservatives, it is best to consume within 1-2 days.
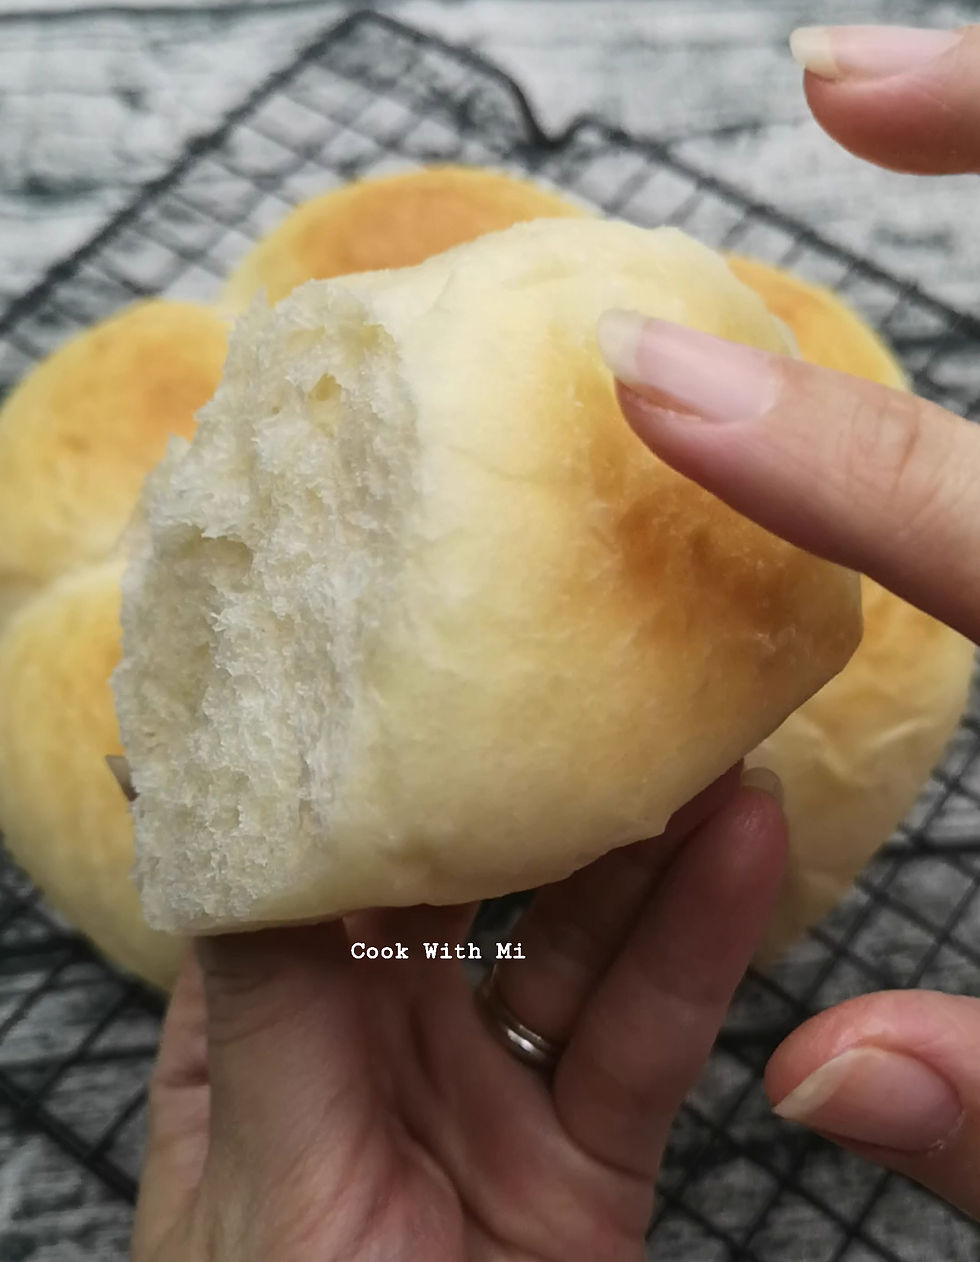
(below picture : 1st baked buns without adding bread softener)
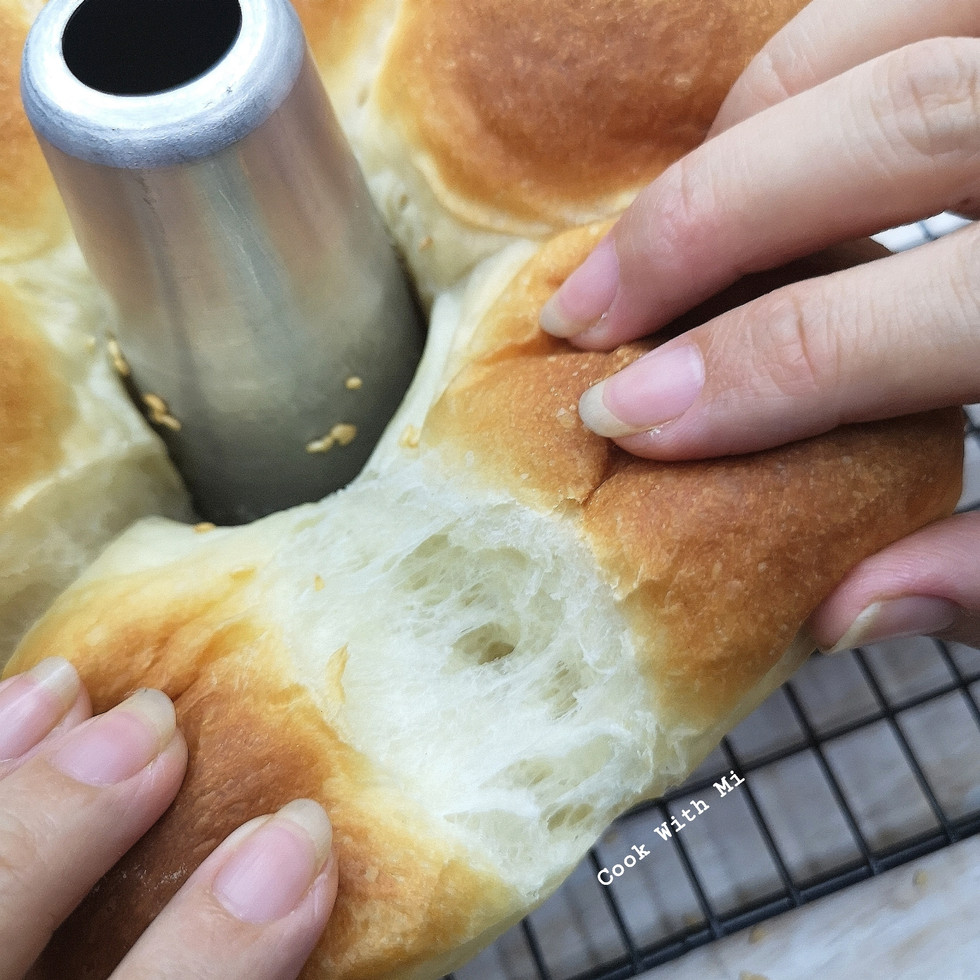
(below : 2nd baked buns with added bread softener)

Happy baking.


Comments